Portable Mini-DIY Spot Welder
Deliveries:
South Africa: Price: R115, 2-4 working days.
International: Contact us for a quote.
Collections:
No Charge - 3 Appian Place, 373 Kent Ave, Randburg Effortlessly bridge legacy and modern technologies with our DB9 to USB Connector, enabling seamless connectivity between serial devices and USB ports.
All items subject to manufacturer's warranty. Extended 12 month warranty available at 20% of purchase price. t&c apply
Portable Mini DIY Spot Welder
Great for your project
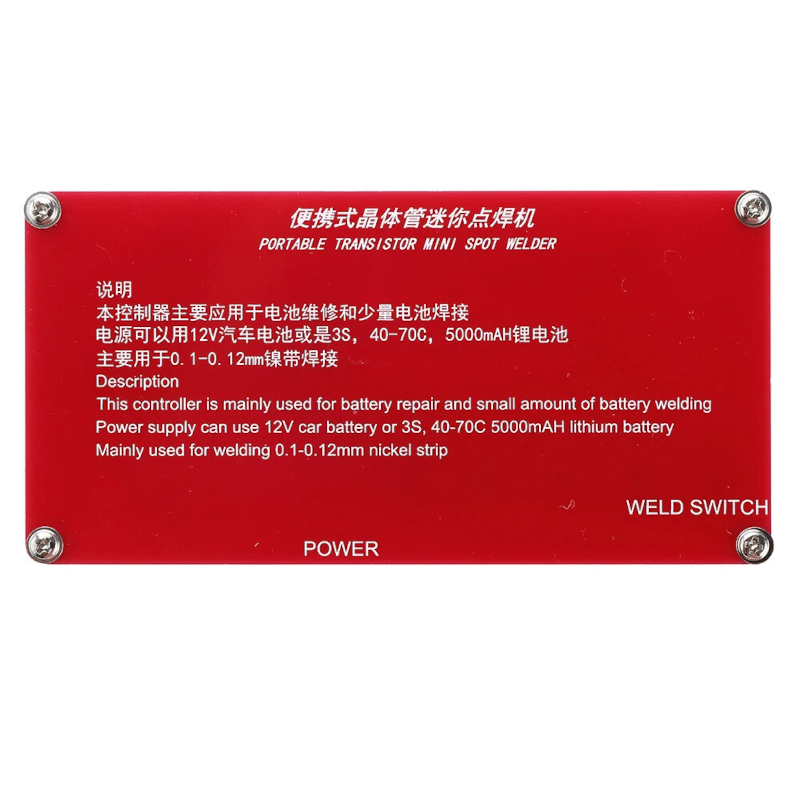
Wide selection of welding power supply: lithium battery power supply or 12V car battery.
The controller is controlled by a single chip microcomputer, and the output pulse is accurate to ensure the welding quality.
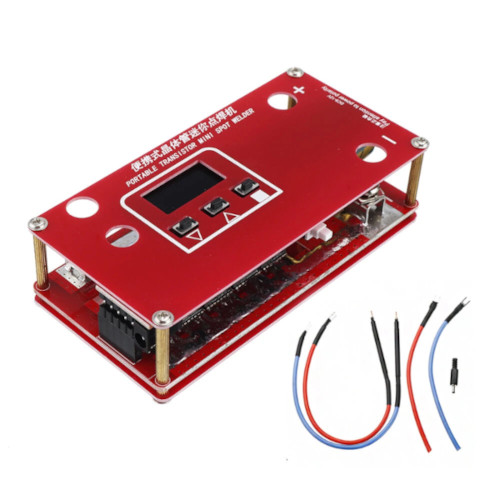
With LCD display screen, can display welding parameters.
The welding pen and the input line are connected by U-shaped cold-pressed terminals, which is convenient for disassembly and replacement.
Using automatic touch welding mode, while retaining the manual trigger interface, you can choose according to your own use.
The power board uses 2 Gusi copper to increase the overcurrent capacity.
Using 5*300A MOS tubes, non-disassembled MOS tubes.
The MOS tube driver adopts the imported special chip driver. The fastest MOS tube can be hit with 20nS. The switch is fast to prevent the explosion of the tube and the non-triode push-pull drive.
The MOS drive design adds a transient diode to protect the MOS and prevent the explosion of the tube.
10AWG multi-filament flexible wire is used for the welding pen line and the input line to increase the overcurrent capacity.
The controller is mainly for welding nickel-plated steel strips from 0.1mm to 0.15mm.
A 25V10000uF high-frequency low-resistance capacitor is added to the power input for energy compensation, which increases welding stability.
Instructions for Use:
1: Power Connection
The controller comes with a 20cm long 10AWG input wire. One end has been crimped with a U-shaped terminal, and the other end has not been processed. Connect the crimped U-shaped terminal to the control power input terminal, and the other end is processed according to its own power supply. Do not connect the negative electrode wrong.
2: Switch on and off
There is a power switch under the control board. After pressing, wait for 3 seconds. After the buzzer drops, the LCD lights up and the boot is complete. Press the power switch again to shut down.
3: Screen description and parameter adjustment.
WELD ENERGY: 01-99 (adjustable by up and down keys)
INPUT: Display input power voltage
WELD WAY: Manual / Auto (Adjust via the "square label" button.)
4: Welding
Keep the welding pin clean. If the welding pin is polished into a round head, the welding effect can be improved. There are manual and automatic methods.
Specification:
Material: Metal
Input line length: app.20cm/7.87in
Length of welding pen: app.30cm/11.81in
Color: Red+Blue+Black
Battery: 18650 lithium battery(not included)
Quantity: 1Set
Note:
The controller comes with a 20cm long 10AWG input cable. One end has been crimped with a U-shaped terminal and the other has not been processed. Connect the crimped U-shaped terminal to the control power input terminal, and the other end is processed according to its own power supply.
There is an ignition switch underneath the control board. After pressing, wait 3 seconds. After the bell rings, the LCD screen lights up and the boot is complete. Press the power switch again to close it.
Please allow 1-2cm size errors due to manual measurement.
Package Included:
1 x Controller
2 x Welding Pen
2Pcs x Power Input Line (Red and Blue)
1 Pair x U-shaped cold-pressed terminal (used to connect to input power)
1 x Black Plug (When you choose manual mode, It need an external trigger switch to connector black plug.)


